











Brake Lever Adjustment: Dial In Your KuKirin‘s Braking Feel

Your brakes are the most important system on your KuKirin. Not the motor. Not the battery. Not the top speed. The brakes.
And yet, brake lever feel is something most riders never think about—until something feels wrong. The lever pulls all the way to the grip before anything happens. Or it feels so tight that a light touch locks the wheel.
Both are problems. Loose brakes lengthen your stopping distance. Overly tight brakes make modulation impossible and increase the risk of skidding. The sweet spot—where braking starts about one-third into the lever travel—is where control lives.
This guide covers how to diagnose brake lever feel, adjust mechanical disc brakes yourself, and recognize when a hydraulic system needs professional attention.

How to Tell If Your Brake Lever Needs Adjustment
Brake lever feel falls into three categories. Identify which one matches your scooter.
Normal: Braking Starts at One-Third Travel
A properly adjusted lever begins engaging the brake when you’ve pulled it about one-third of its total travel. The remaining two-thirds provide modulation—the ability to apply more or less braking force smoothly.
This is the target. It gives you immediate response without sacrificing control.
Too Loose: Lever Reaches the Grip Before Braking
If you can pull the lever all the way to the handlebar grip and only then feel braking begin, your cable tension is too low.
Consequences:
-
Longer stopping distance
-
Reduced braking confidence
-
Risk of not being able to brake hard enough in an emergency
Common causes: Cable stretch over time, worn brake pads, or a cable that was never properly tensioned after assembly.
Too Tight: Light Touch Locks the Wheel
If the brake engages with almost no lever travel, the cable is over-tensioned.
Consequences:
-
Wheel locks easily, especially in wet conditions
-
No modulation—braking is on/off
-
Increased tire wear and skid risk
-
Brake drag when the lever isn‘t pulled
Common causes: Over-adjustment, a bent brake disc, or a misaligned caliper.
Tools You Need
Brake adjustment is a beginner-friendly task. The tools are minimal.
Included with most KuKirin scooters:
-
Allen key set (typically 4mm and 5mm)
-
Screwdriver (Phillips or flathead depending on model)
Useful additions:
-
Cable puller (makes tensioning easier)
-
Clean rag
-
Torque wrench (for precise tightening, optional)
If you have the stock tool kit that came with your KuKirin, you already have what you need for mechanical brake adjustment.
Adjusting Mechanical Disc Brakes
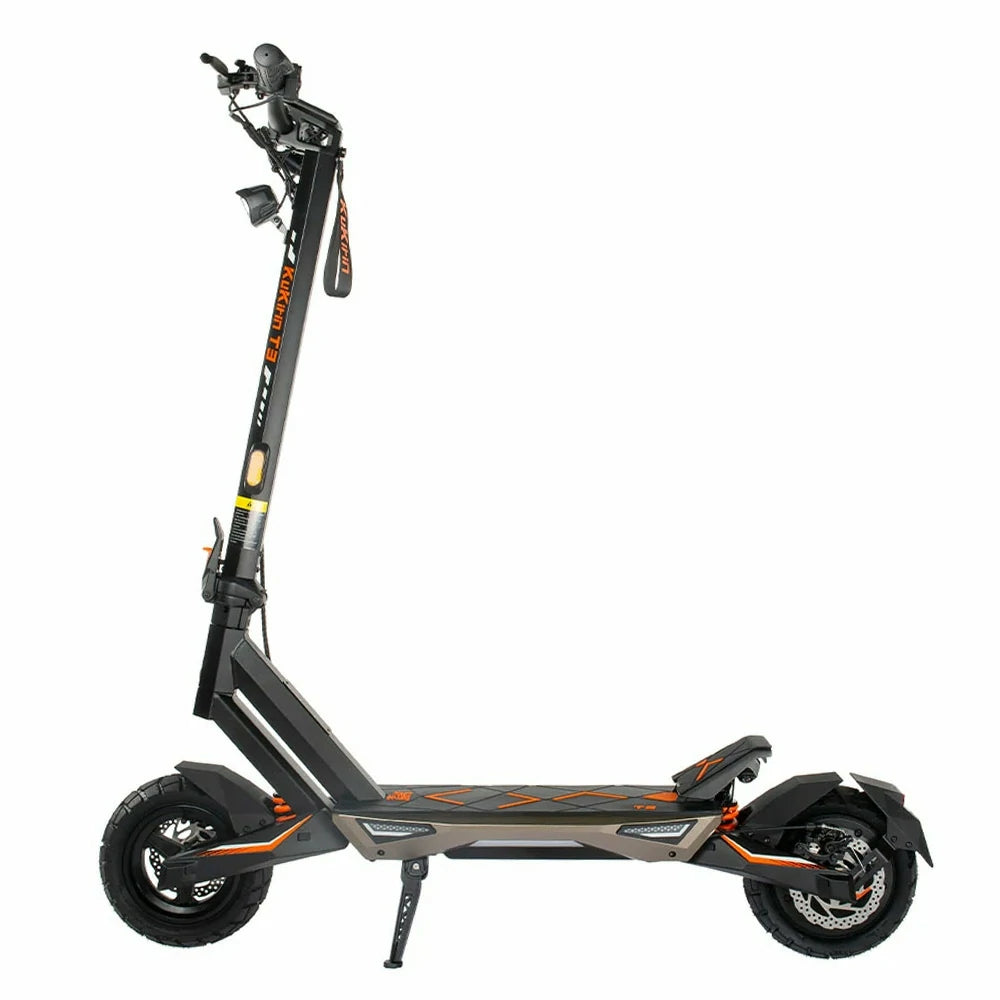
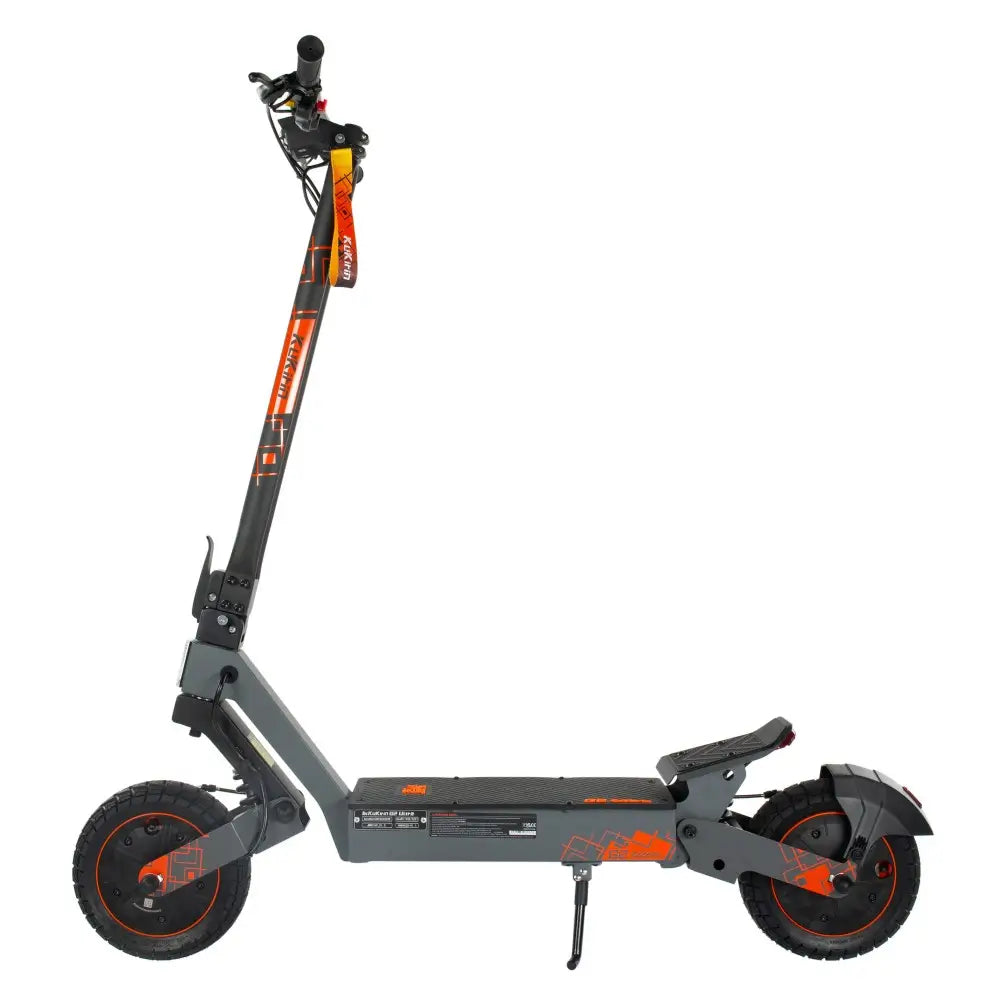
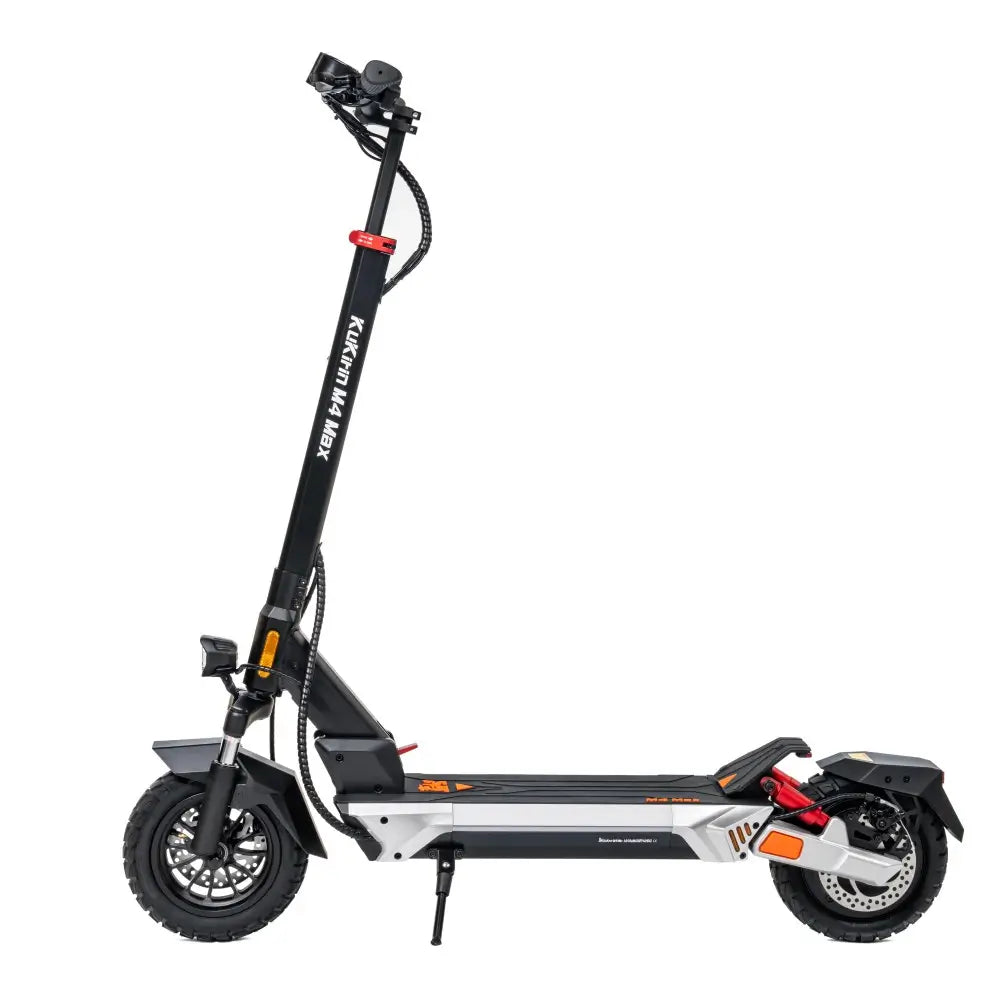
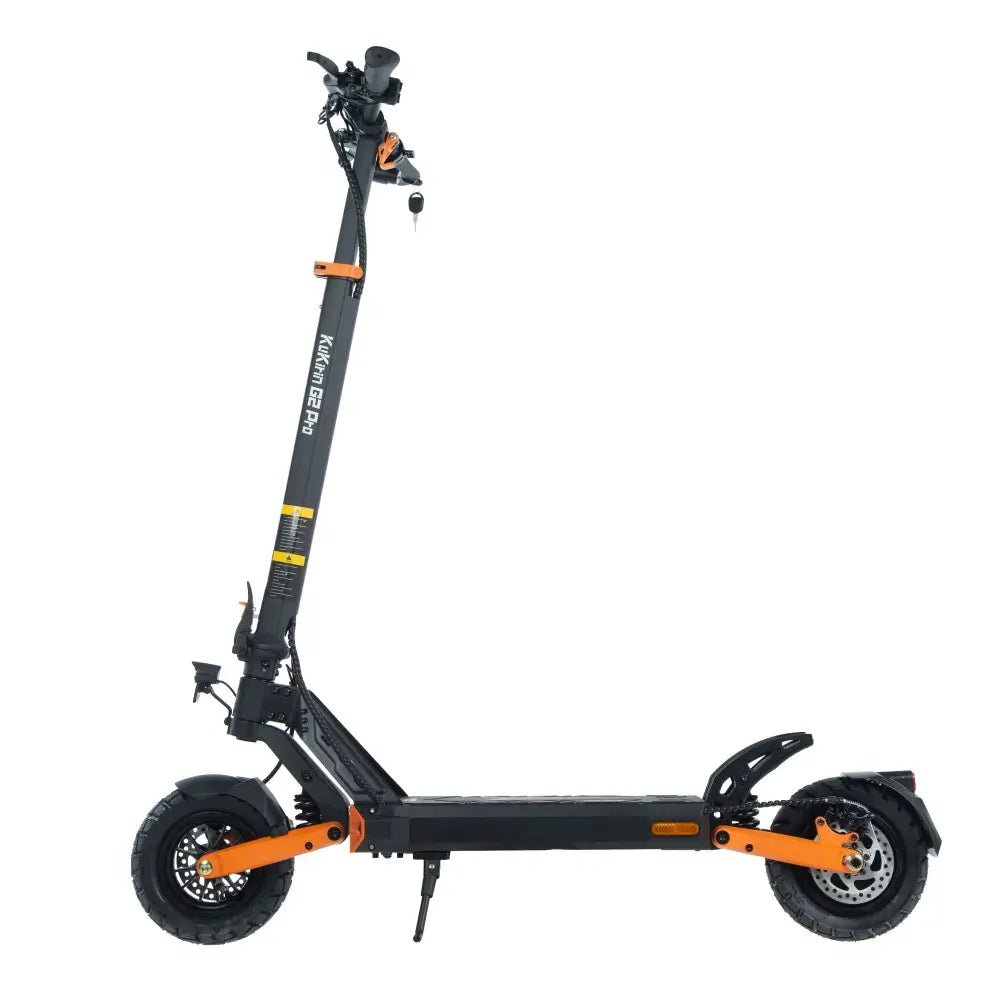
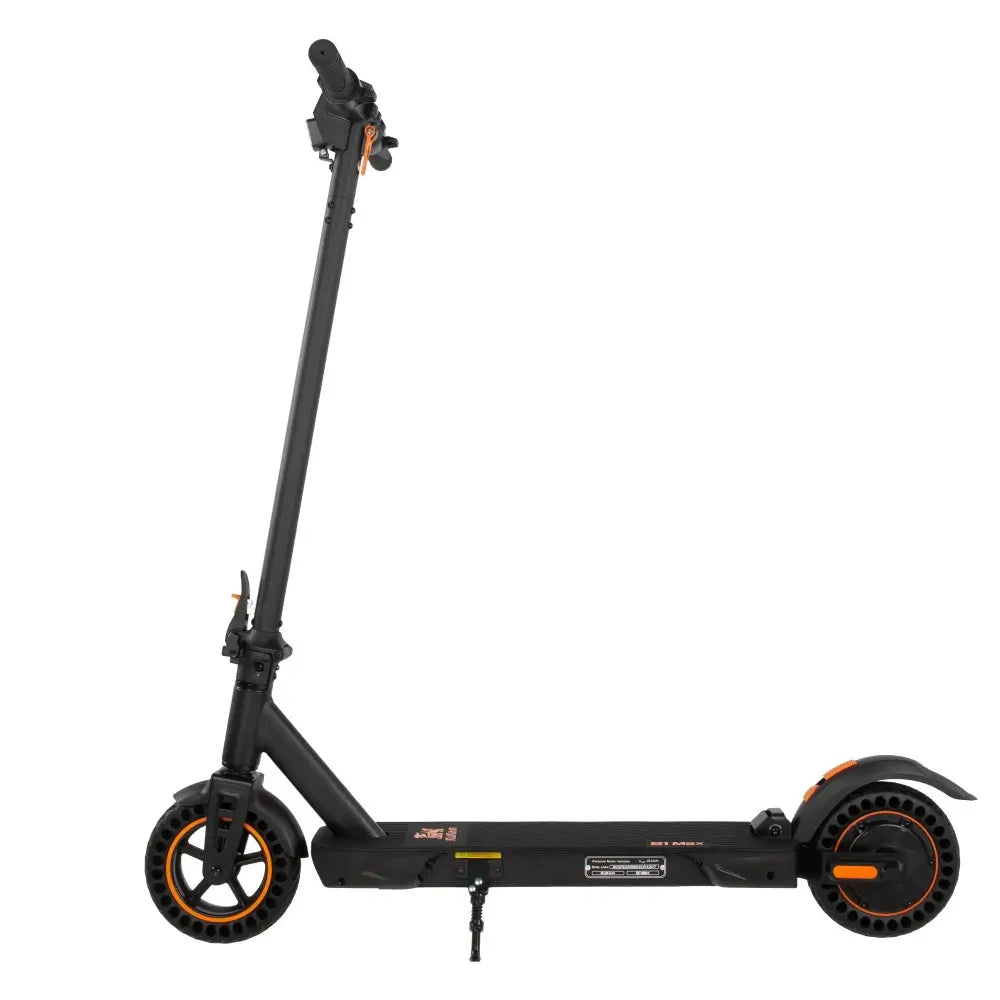
Mechanical disc brakes are found on most KuKirin models, including the G2, G2 Pro, G2 Max, G4, M4 Max, S1 Max, and T3. The adjustment process is straightforward.
Step 1: Locate the Cable Fixing Bolt
Follow the brake cable from the lever to the caliper. At the caliper, you’ll find a bolt that clamps the cable in place. This is your adjustment point.
Step 2: Loosen the Cable Fixing Bolt
Using the appropriate Allen key, loosen—but do not remove—the bolt. You want the cable to move freely through the clamp.
Step 3: Adjust Cable Tension
Two methods work:
Method A: Pull the cable by hand. Pull the cable taut with one hand while tightening the bolt with the other. This requires coordination but works without extra tools.
Method B: Use the barrel adjuster. Many brake levers have a barrel adjuster near the lever. Turning it counterclockwise increases tension; clockwise decreases it. This is the easier method for fine-tuning.
Step 4: Tighten the Cable Fixing Bolt
Once tension is set, tighten the bolt firmly. The cable should not slip when you squeeze the lever.
Step 5: Test the Lever Feel
Squeeze the brake lever. Braking should begin at about one-third travel. If it engages too early, reduce tension. If it engages too late, increase tension.
Step 6: Spin the Wheel
Lift the scooter so the wheel spins freely. Rotate it by hand. The wheel should spin without dragging. If you hear rubbing, the caliper is misaligned or the disc is bent.

Hydraulic Brake Models: When to Leave It Alone
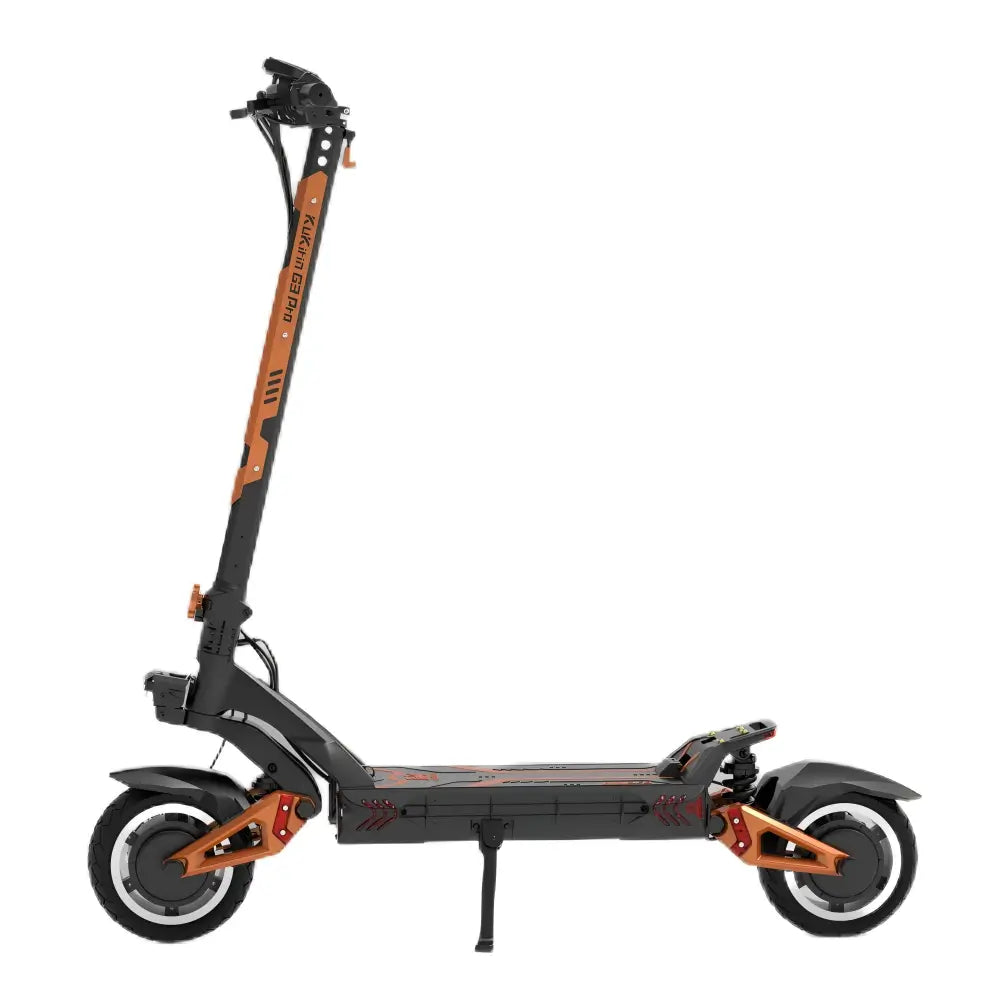
Some KuKirin models use hydraulic disc brakes—the G3 Pro, G4 Ultra, and X1 among them. Hydraulic systems offer better modulation and consistent performance, but they are not DIY-friendly for most riders.
Why hydraulic brakes are different:
-
They use fluid pressure, not cable tension
-
Adjustment requires bleeding the system
-
Air bubbles in the fluid cause spongy lever feel
-
Fluid contamination damages seals
What you can safely do:
-
Check for fluid leaks around the caliper and lever
-
Clean the caliper area
-
Check pad thickness
-
Adjust the lever reach (if your lever has a reach adjustment screw)
What you should not do:
-
Open the hydraulic system
-
Attempt to bleed the brakes without training
-
Mix brake fluids
If your hydraulic brake lever feels spongy, reaches the grip, or loses pressure over time, take the scooter to a qualified repair shop. Hydraulic brake service is not expensive, and improper DIY work can damage the entire system.
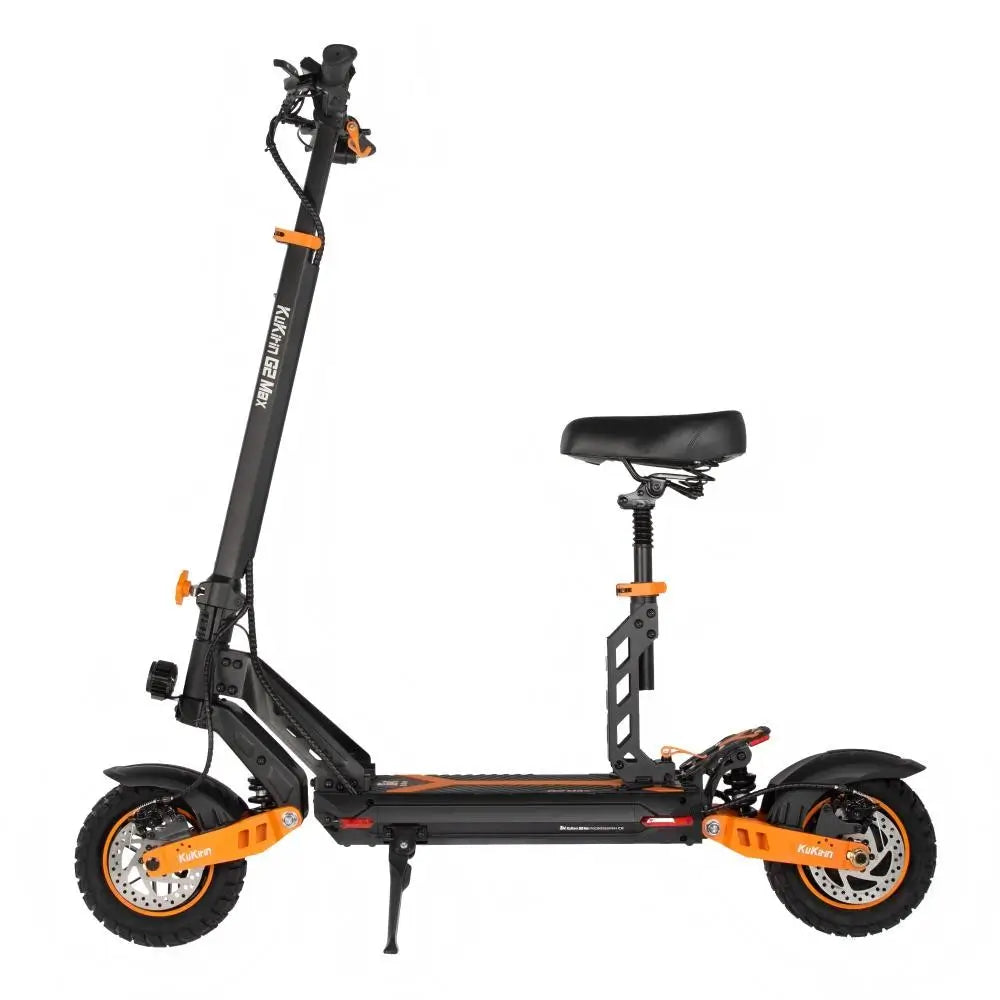
If you ride a model with hydraulic brakes and want a backup option, the KuKirin G2 Max electric scooter uses mechanical disc brakes that are easier to service at home.
Testing After Adjustment
Never assume an adjustment is correct. Test it.
Low-Speed Test
Ride in a safe, open area at low speed (10-15km/h). Squeeze the brake lever progressively.
What you want:
-
Braking begins smoothly at one-third travel
-
You can modulate force—light squeeze for gentle braking, firm squeeze for hard stops
-
The wheel doesn‘t lock unless you deliberately pull hard
Wheel Spin Test
After the low-speed test, lift the scooter and spin the wheel by hand. It should rotate freely without brake drag.
If the wheel drags, either the cable is over-tensioned or the caliper is misaligned.
Emergency Stop Test (In a Safe Area)
At moderate speed, practice an emergency stop. The brake should bring you to a controlled stop without skidding. If the wheel locks instantly, reduce tension.
How Brake Pad Wear Affects Lever Travel
Here’s something many riders don’t realize: as brake pads wear, lever travel increases.
Why: Worn pads sit further from the disc. The caliper must move further to bring them into contact. This extra movement shows up as increased lever travel—the lever feels looser even though the cable hasn’t changed.
What this means:
-
A lever that felt perfect six months ago may now feel loose—not because of cable stretch, but because the pads are thinner
-
Replacing worn pads often restores proper lever feel without any cable adjustment
-
If you adjust cable tension to compensate for worn pads, you‘ll need to re-adjust when you install new pads
Pad wear indicators: Most disc brake pads have a wear line or groove. When the pad material is thinner than the line, replace the pads.
For riders who want a scooter with easy-to-service mechanical brakes, the KuKirin G2 Pro electric scooter uses a standard mechanical disc system that responds well to home adjustment.

Common Brake Adjustment Mistakes
Over-tightening. New riders often tighten the cable until the brake grabs instantly. This eliminates modulation and increases skid risk. Aim for one-third travel engagement.
Ignoring caliper alignment. If the caliper isn’t centered over the disc, one pad contacts before the other. This causes uneven wear and poor braking. Loosen the caliper mounting bolts, center the caliper, and retighten.
Adjusting the wrong end. Some riders try to adjust tension at the lever when the real issue is at the caliper. Check both ends.
Forgetting to test. An adjustment that feels right in the garage may behave differently under load. Always test at low speed before riding normally.
Neglecting the rear brake. Riders often focus on the front brake because it does most of the stopping. But the rear brake provides stability and control. Both should be adjusted.
Frequently Asked Questions
How do I know if my KuKirin brake lever is too loose?
If you can pull the lever all the way to the grip before braking begins, it‘s too loose. Proper adjustment means braking starts at about one-third of lever travel.
Can I adjust hydraulic brakes myself?
Basic checks like pad wear and lever reach are safe to do yourself. Bleeding the hydraulic system requires training and specialized tools. Take hydraulic brake service to a professional.
What tools do I need for brake adjustment?
Most KuKirin scooters include an Allen key set that covers brake adjustment. A cable puller helps with tensioning but isn’t required.
Why does my brake lever feel different after replacing pads?
New pads are thicker than worn ones. Installing new pads reduces lever travel. You may need to readjust cable tension after pad replacement.
How often should I check my brakes?
Check lever feel before every ride—it takes five seconds. Inspect pad wear monthly. Adjust cable tension as needed when lever travel changes.
What if my brake still feels wrong after adjustment?
If adjustment doesn’t fix the problem, the issue may be a bent disc, misaligned caliper, or contaminated pads. These require inspection and possibly replacement.
Brakes You Trust, Rides You Enjoy
Brake lever adjustment is one of the simplest maintenance tasks on any scooter—and one of the most impactful. A properly adjusted brake gives you confidence in every ride, shortens stopping distance, and makes the scooter feel more controlled.
Ten minutes with an Allen key. A low-speed test. That‘s all it takes. Do it before the problem becomes a safety issue.
For riders who want a scooter with reliable mechanical brakes that are easy to maintain, the KuKirin G2 Max electric scooter pairs mechanical disc brakes with a seated design and extended range.