


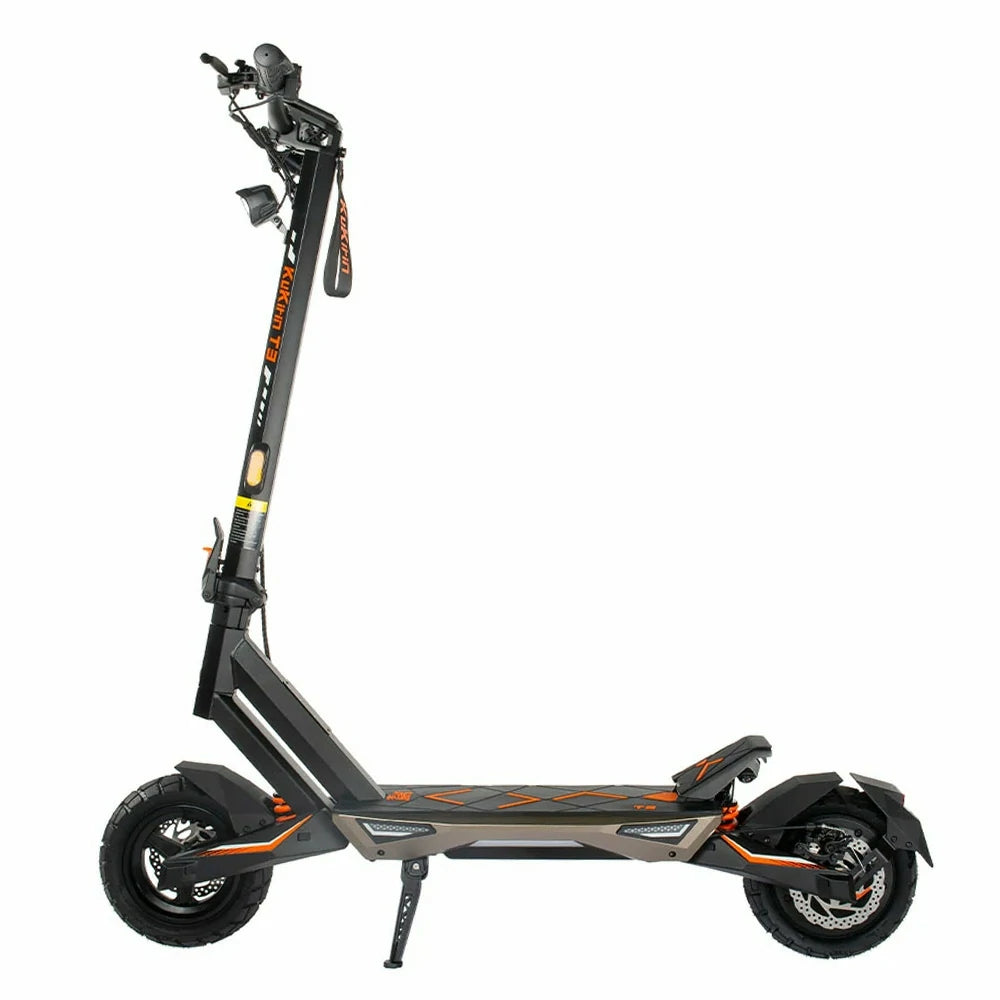
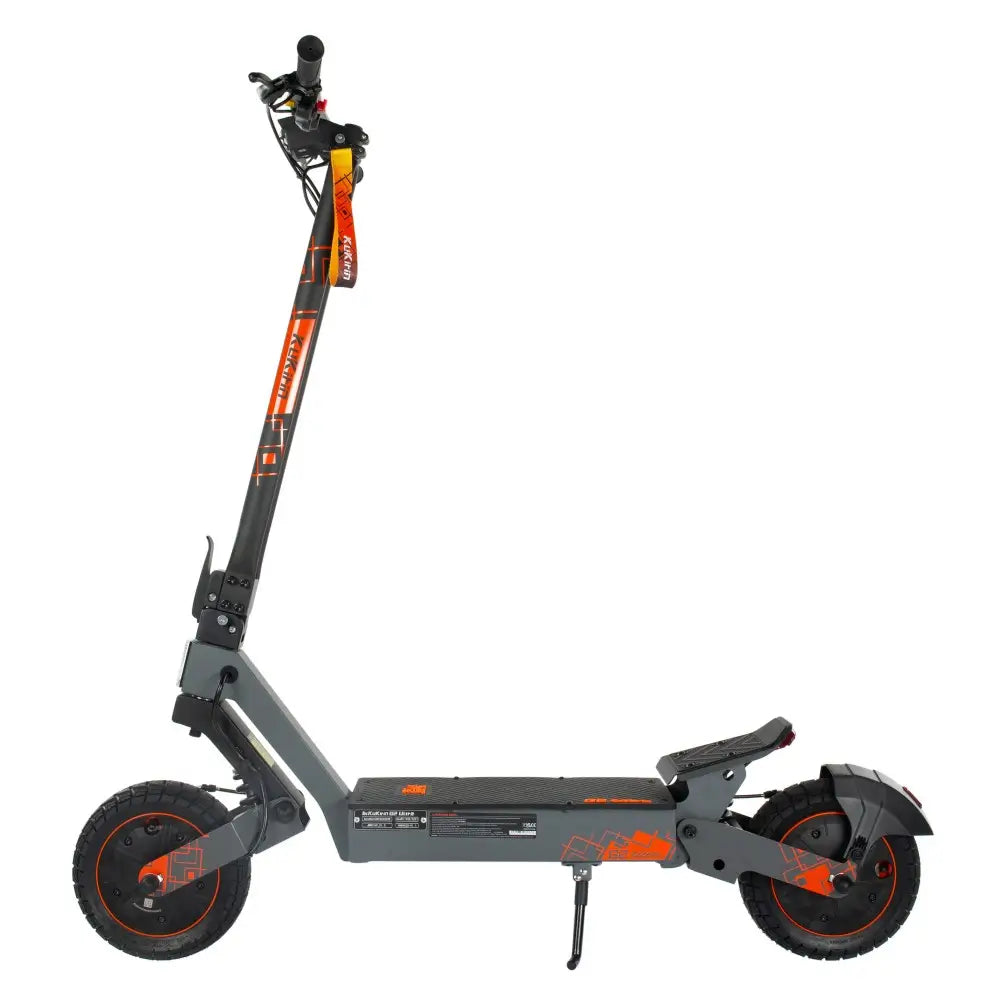
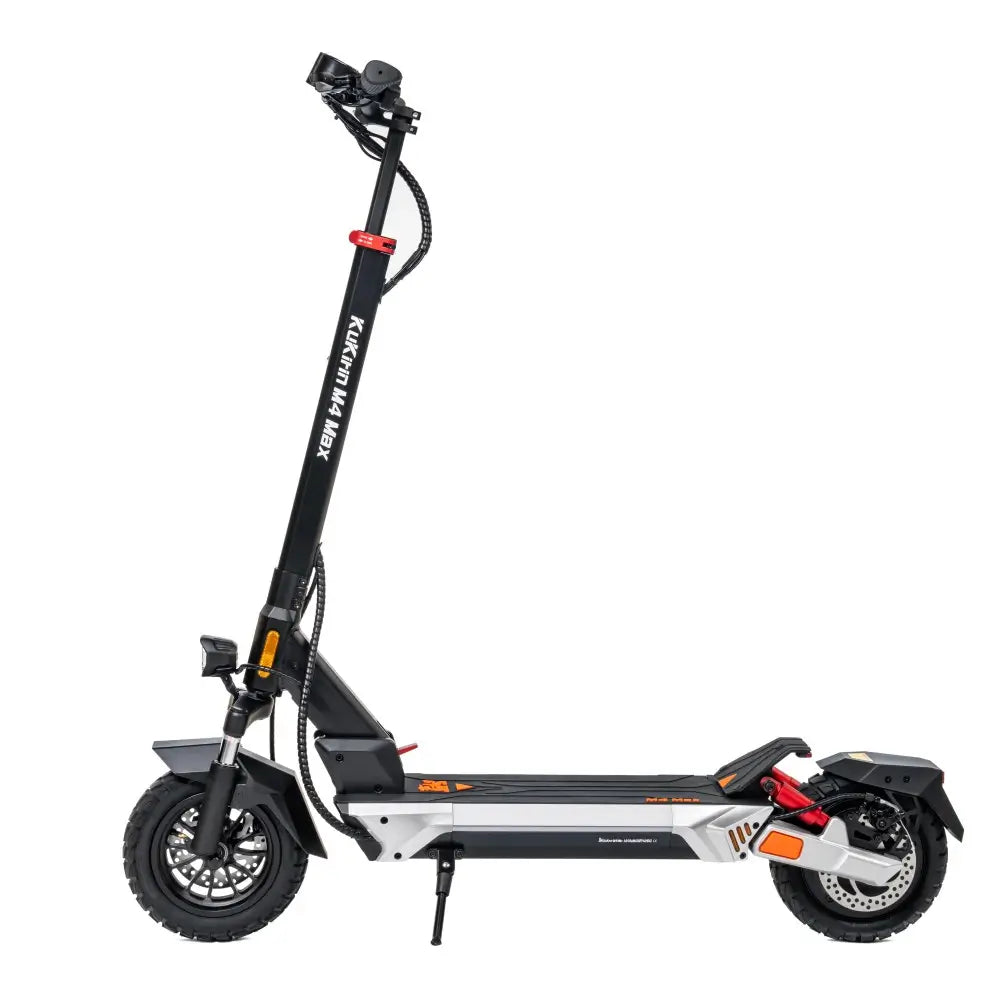
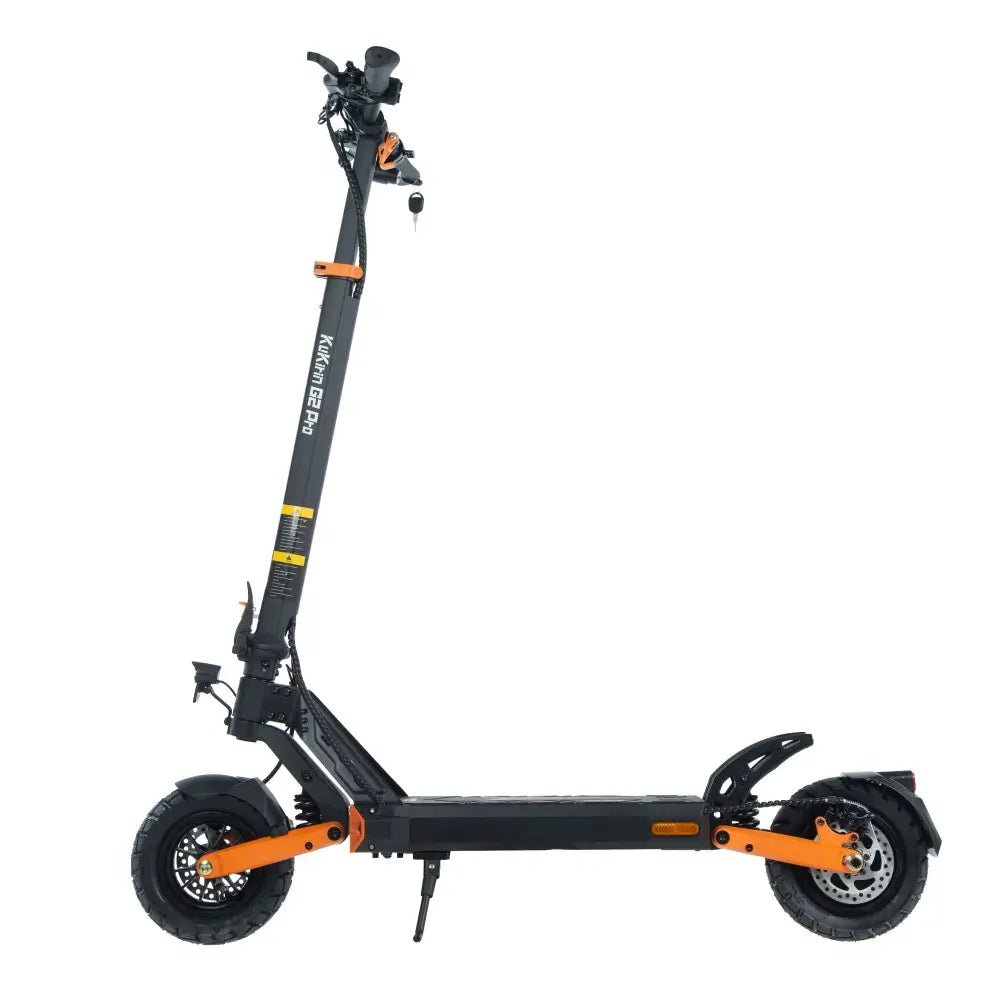









Summer Unboxing Guide: What to Do When Your KuKirin Scooter Arrives

Your KuKirin scooter has finally arrived. The box is sitting in your hallway, and you are ready to tear it open and hit the road.
Stop. Take a breath.
Before your first ride, there are a few essential steps to ensure your scooter is safe, properly assembled, and ready for the road. This guide walks you through the unboxing process — from checking the box to your first ride.
Step 1: Unboxing & Inspection
Check the Box
| What to Check | Why |
|---|---|
| Box condition | Look for dents, tears, or water damage |
| Shipping label | Confirm it is your correct order |
| Seals | Ensure the box has not been opened |
Inside the Box
Most KuKirin scooters come with:
| Item | Purpose |
|---|---|
| Scooter (folded) | The main product |
| Charger | For charging the battery |
| User manual | Safety and setup instructions |
| Toolkit | Allen wrenches for assembly |
| Keys | For models with key ignition (if applicable) |
| Additional parts | Varies by model |
Step 2: What's in the Box by Model
KuKirin G2 Pro
| Item | Included |
|---|---|
| Charger | ✅ |
| Manual | ✅ |
| Pump | ✅ |
| Toolkit | ✅ |
| Keys | ✅ |
| Seat Kit | ✅ |
KuKirin G2
| Item | Included |
|---|---|
| User Manual | ✅ |
| Charger | ✅ |
| Toolkit | ✅ |
| Rear Fender | ✅ |
| Mounting Screws | ✅ |
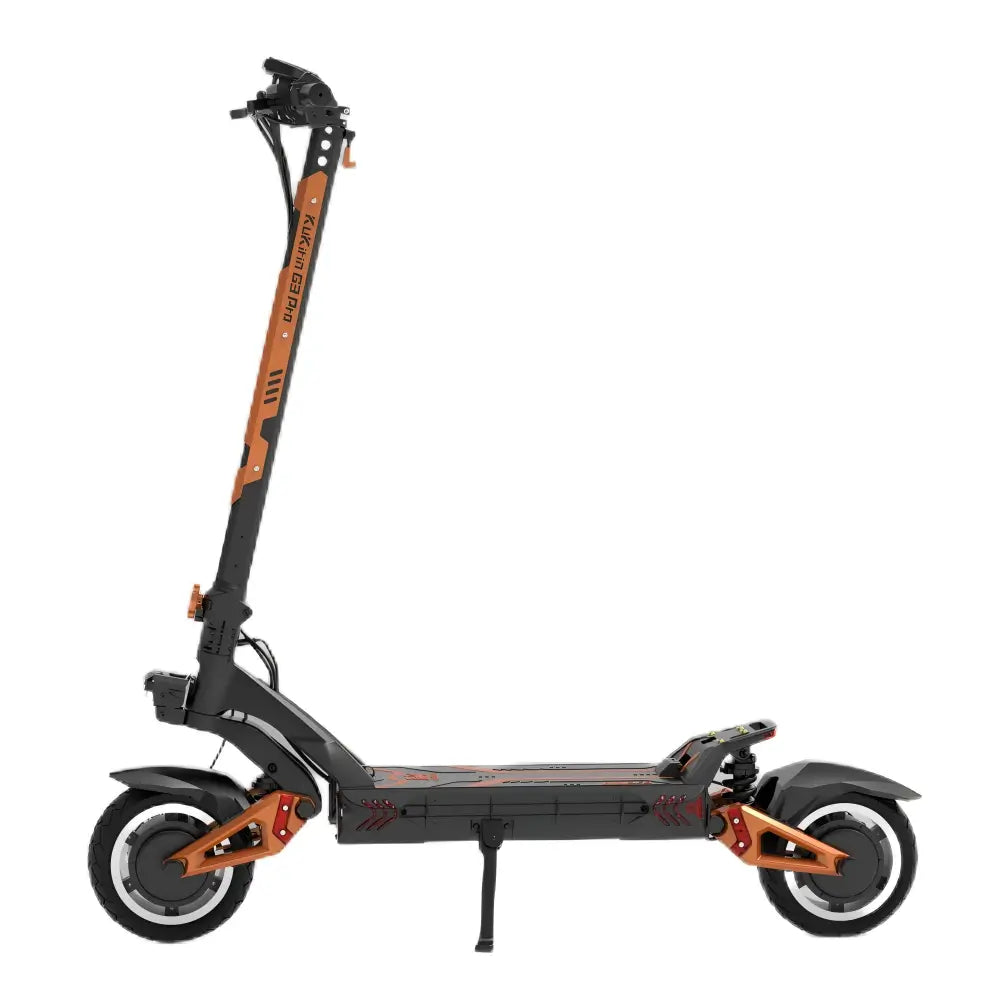
KuKirin G3 Pro
| Item | Included |
|---|---|
| User Manual | ✅ |
| Chargers (×2) | ✅ |
| Toolkit | ✅ |
| Pump | ✅ |
| Inner Tube | ✅ |
| Brand Sticker | ✅ |
| Keys | ✅ |
Step 3: Assembly
Step-by-Step Assembly
| Step | Action |
|---|---|
| 1 | Unfold the scooter — release the folding latch |
| 2 | Attach the handlebar — align and tighten screws |
| 3 | Check the folding mechanism — ensure it locks securely |
| 4 | Adjust brake levers — position for comfortable reach |
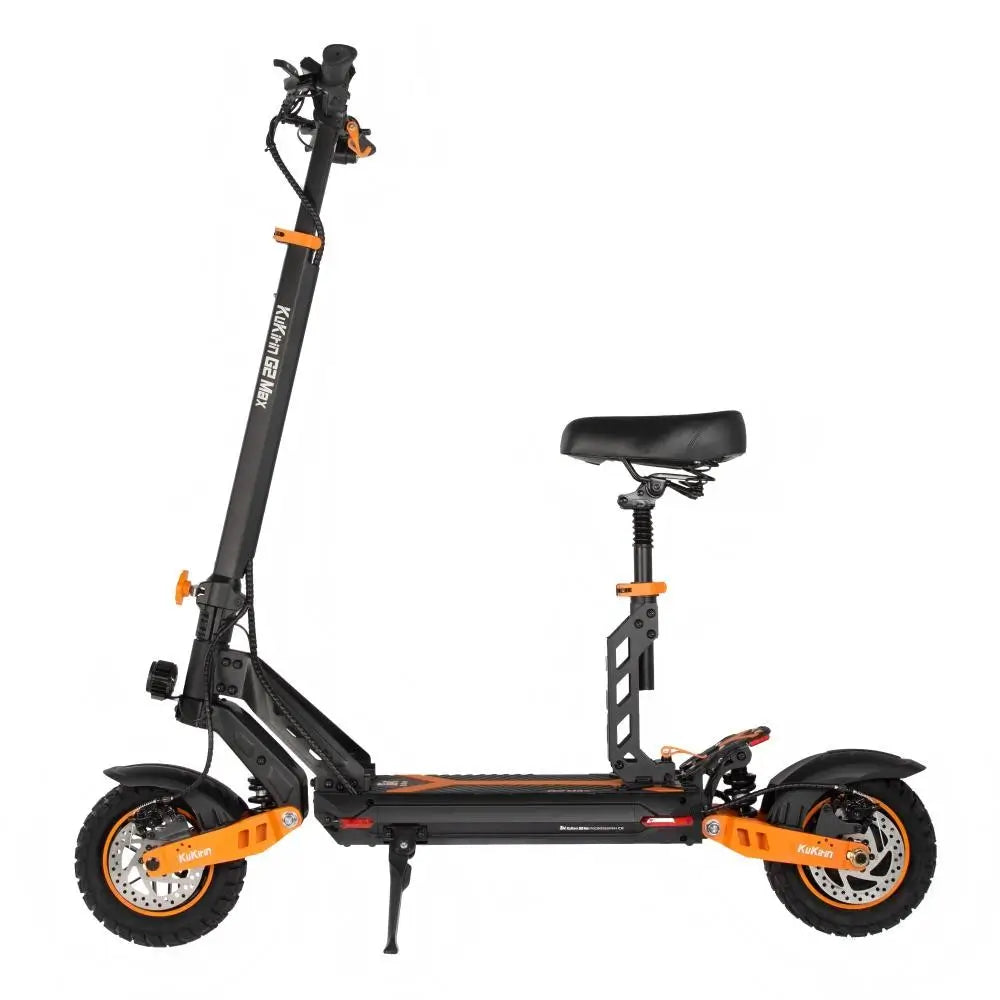
| 5 | Install the seat (if applicable) — G2 Pro, G2 Master, G3 Pro |
Tool Tips
| Tip | Why |
|---|---|
| Do not over-tighten | Stripped screws are difficult to remove |
| Use the correct Allen key | Prevents rounding the bolt heads |
| Keep the toolkit | You will need it for future adjustments |
Step 4: First Charge — Summer Edition
The 100% Rule
| Step | Action |
|---|---|
| 1 | Charge the battery to 100% before your first ride |
| 2 | Charge in a cool, ventilated area — not in direct sunlight |
| 3 | Do not charge immediately if the scooter arrived hot from shipping |
Charging Environment
| Location | Suitability |
|---|---|
| Indoor, air-conditioned | ✅ Best |
| Indoor, shaded | ✅ Good |
| Outdoor, direct sun | ❌ Never |
Summer tip: If the scooter feels warm from being in a delivery van, let it cool for 30 minutes before charging.
Step 5: Pre-Ride Safety Check
Tyre Pressure
| Model | Recommended Pressure |
|---|---|
| G2 Master / G2 Max / G3 Pro | 350 kPa (50 psi) |
| G2 Pro | 340 kPa (50 psi) |
| A1 | 330-360 kPa (48-53 psi) |
| M4 Max | 250 kPa (36 psi) |
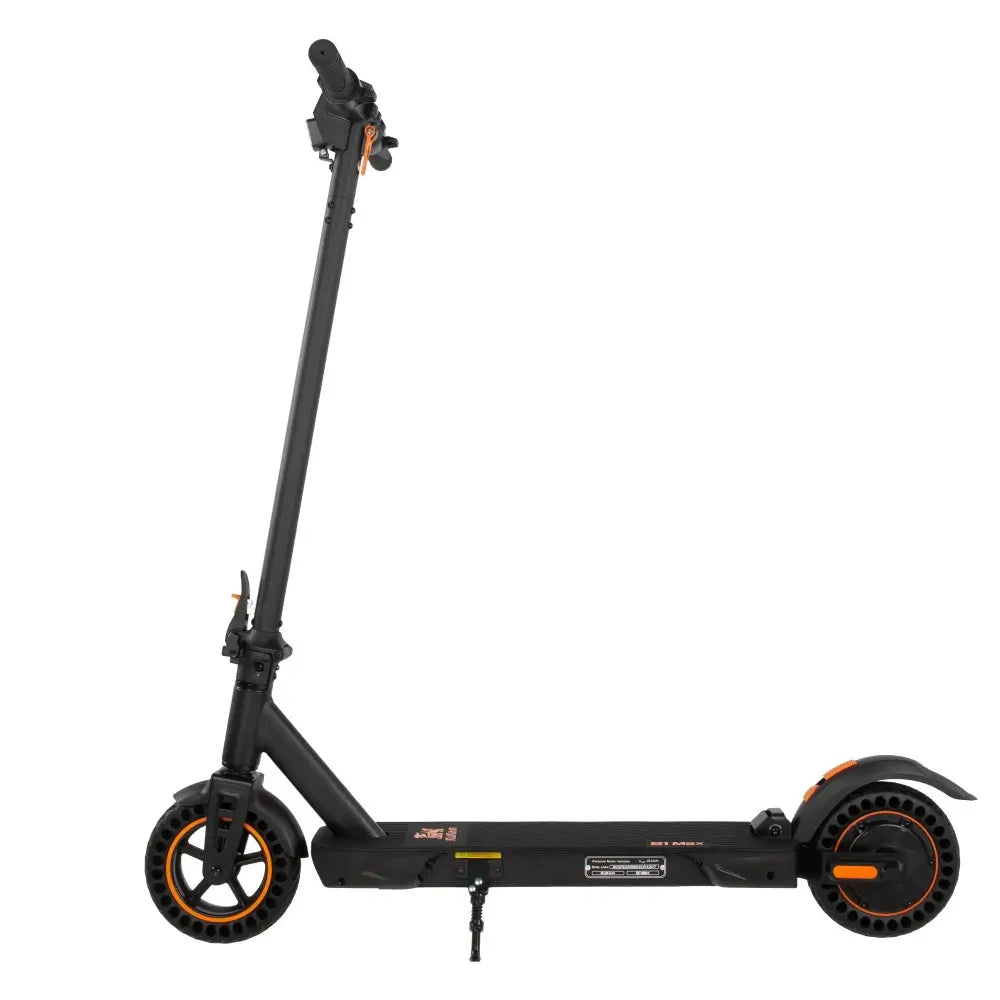
| S1 Max | No inflation needed (solid tyres) |
Brake Test
| Check | What to Look For |
|---|---|
| Front brake | Lever feels firm, brake engages |
| Rear brake | Lever feels firm, brake engages |
| Brake discs | Not warped, no oil contamination |
Light Check
| Light | Action |
|---|---|
| Headlight | Turn on and check brightness |
| Taillight | Turns on with headlight, flashes when braking |
| Turn signals | If equipped, test left and right |
Frequently Asked Questions (FAQ)
Q1: Do I need to charge the battery before first use?
Yes — charge to 100% before your first ride to balance the battery cells.
Q2: How long does the first charge take?
Most KuKirin models take 7-10 hours for a full charge from empty.
Q3: What if the box is damaged?
Inspect the scooter for damage. If damaged, contact KuKirin support immediately with photos.
Q4: Can I ride immediately after unboxing?
Not recommended. Assemble, charge, and complete the safety checks first.
Q5: Is the S1 Max easier to set up?
Yes — the S1 Max is the simplest model to assemble and has no tyre pressure to check.
Conclusion: Ready to Ride
| Step | Action |
|---|---|
| 1 | Unbox and inspect |
| 2 | Assemble correctly |
| 3 | Charge to 100% |
| 4 | Check tyre pressure, brakes, lights |
| 5 | Enjoy your first ride! |
Your KuKirin scooter is built for performance and reliability. Take the time to set it up properly, and it will reward you with thousands of kilometres of enjoyable riding.